Invoiso keeps every customer, invoice, product, and setting in a local SQLite database on your own computer — nothing is synced to a server automatically. That's a privacy win, but it also means there is no cloud vendor quietly backing your data up in the background. If a drive fails or a laptop gets replaced, your invoice history is only as safe as your last backup. Here is the exact process for backing it up, restoring it, and moving it to a new machine.
Step 1: Open Settings → Backup
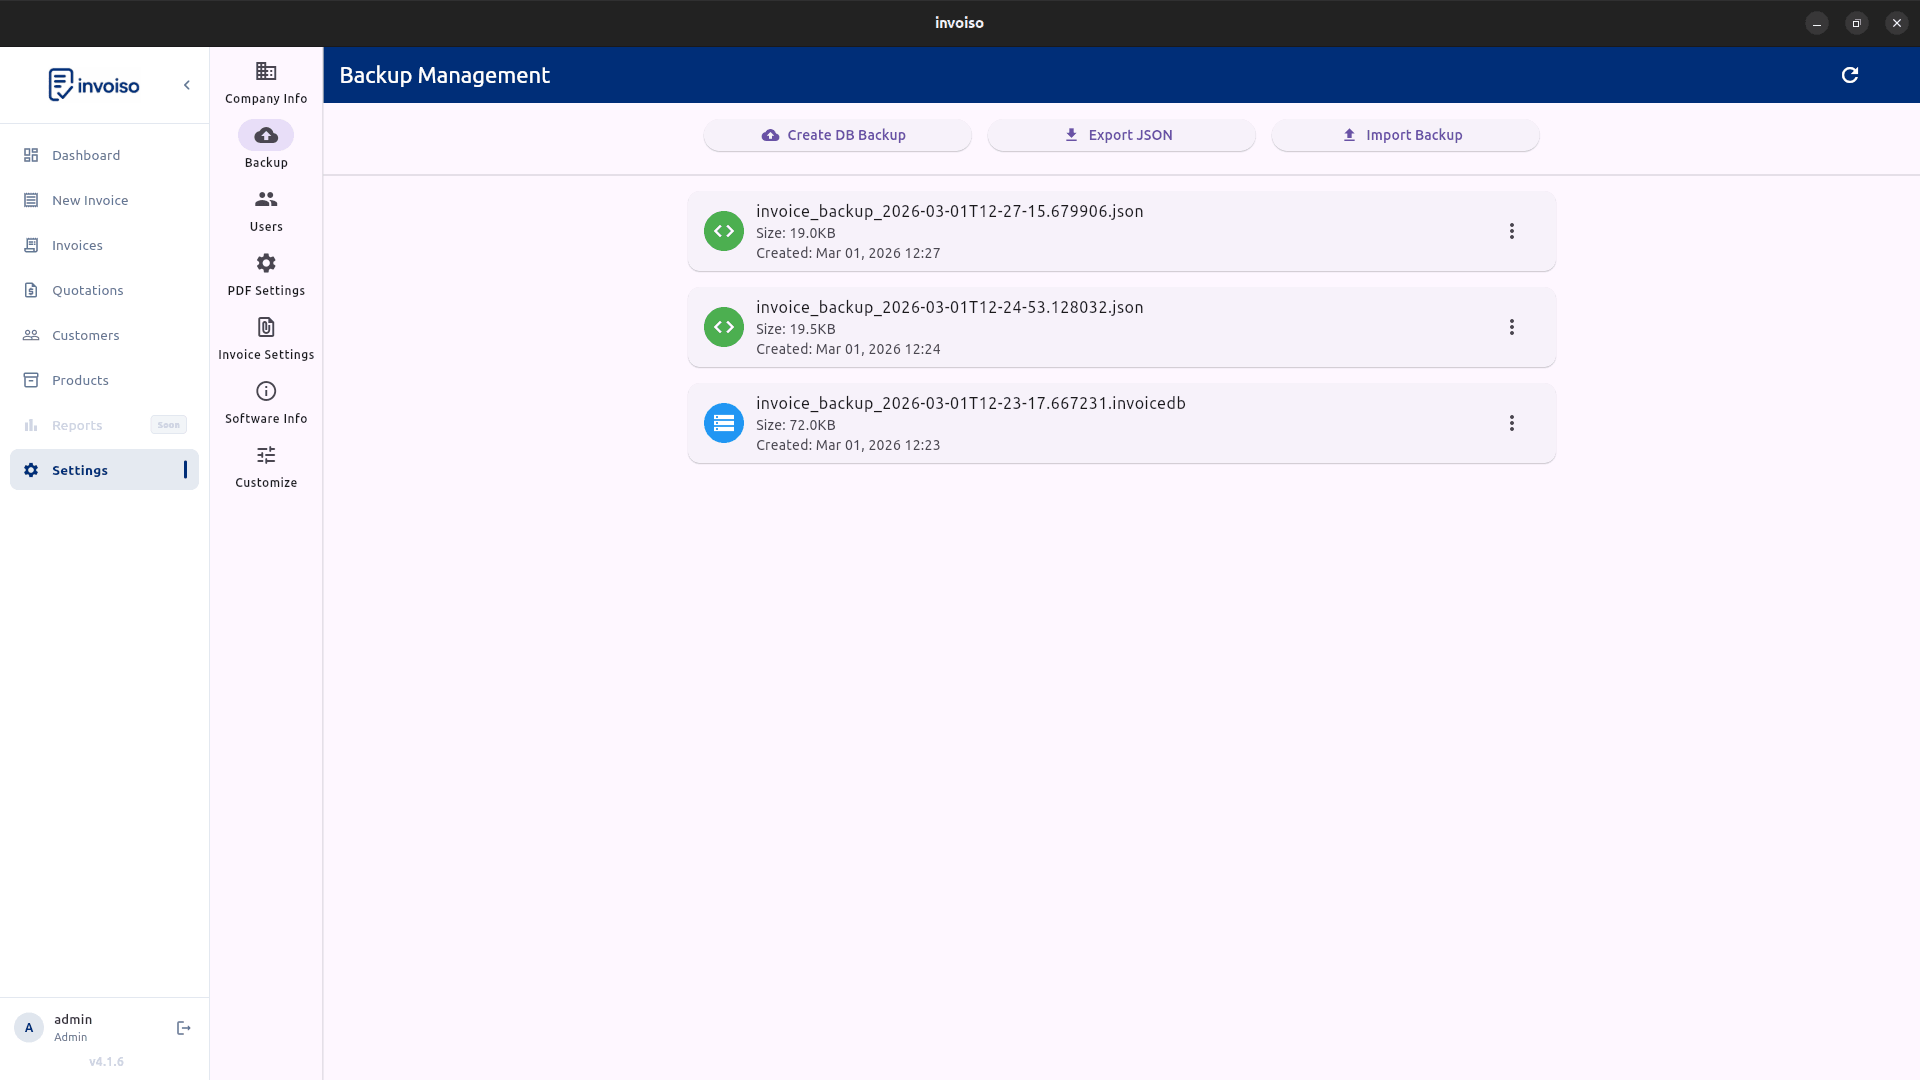
In Invoiso, go to Settings → Backup. This screen handles both directions — creating a new backup file and restoring from an existing one — so it's the only place you need for the whole workflow.
Step 2: Create a backup file
Create a database backup and choose where to save the file. This single file contains your complete database — every customer, invoice, product, and setting — so keeping it current is equivalent to protecting your entire billing history in one action.
Step 3: Store the backup somewhere safe
A backup file sitting on the same hard drive as the original database protects you against almost nothing — if that drive fails, both copies go with it. Copy the file to an external drive, a USB stick, or your own cloud storage (Google Drive, OneDrive, or similar) on a regular schedule. Since this is a manual step in offline software, it only works if you actually do it — set a recurring reminder if backups aren't already part of your routine.
Step 4: Restore on the same or a new machine
To move to a new computer, or to recover from a lost database, install Invoiso on the target machine, open Settings → Backup, and restore from your saved backup file. All customers, products, and invoices transfer completely — no internet connection or account login required for either direction of the process.
Step 5: Verify your data
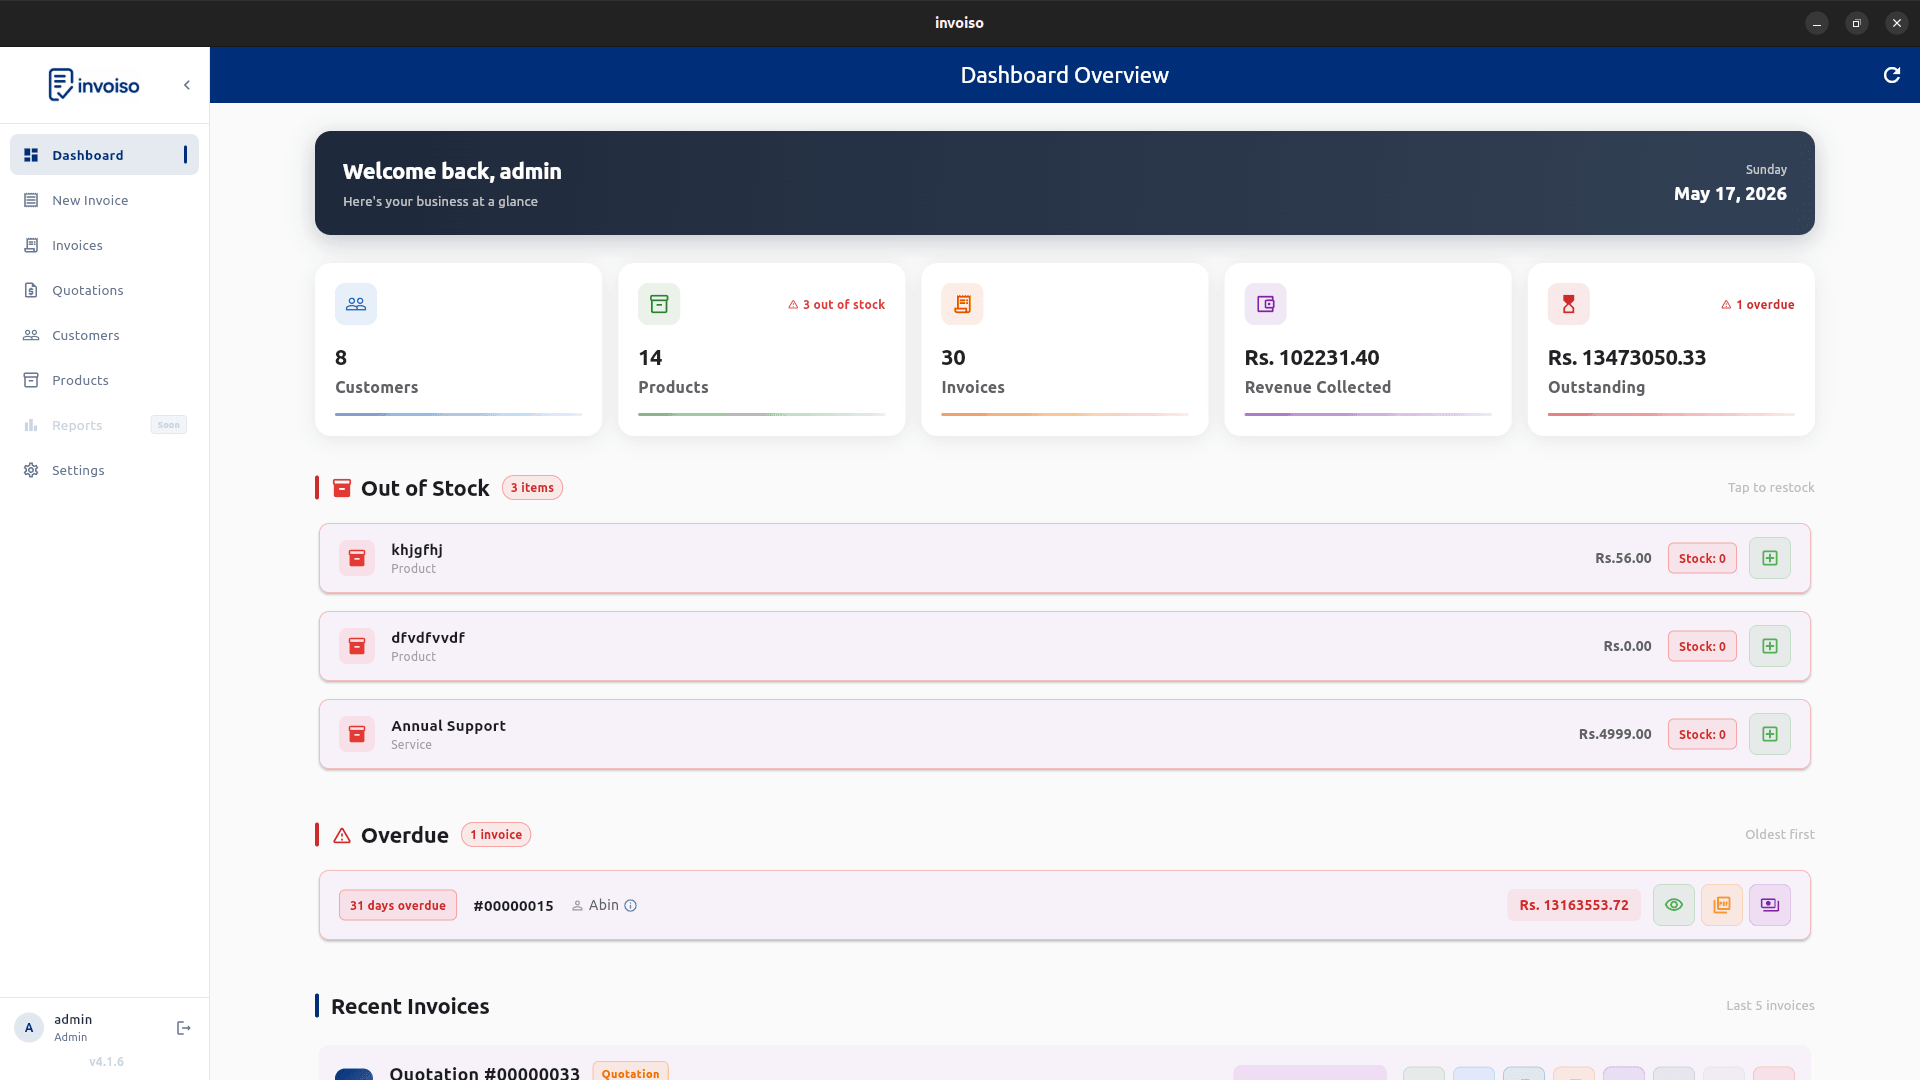
After restoring, check the dashboard totals, open the customer list, and pull up a couple of recent invoices to confirm everything matches what you expect before you resume billing on the new setup. A quick check like this takes a minute and catches problems immediately, rather than weeks later when you go looking for an invoice that turns out to be missing.
Where the database actually lives
Invoiso stores its database in your operating system's application support directory — typically
~/.local/share/invoiso/ on Linux and %AppData%\anoopp\invoiso\ on Windows.
You don't need to touch this file directly for normal use — the Backup screen handles it — but it's
useful to know if you ever need to locate it manually, for example after a reinstall. Uninstalling
Invoiso does not delete this folder, so a fresh install can often find your existing database even
without a manual backup, though taking one is still the safer habit.
CSV export for reporting, not full backup
The Invoice Management screen also has an Export CSV button, plus a bulk export for selected invoices, which opens in Excel, Google Sheets, or any spreadsheet app. This is useful for sharing a subset of data with an accountant or building a report, but it only covers invoices — it is not a substitute for the full database backup, which is the only copy that includes customers, products, and settings together.
Invoiso keeps your billing data local with one-click backup and restore, no cloud account required. See offline billing software or download the desktop app.